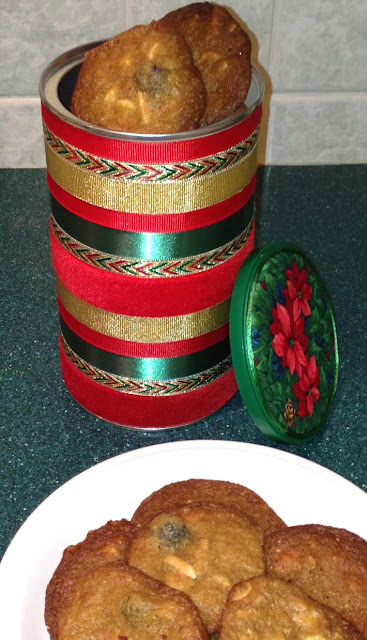
Bringing cookies or other treats as a hostess gift? Maybe those yummy cookies from last Tuesday's blog post? Why not leave the hostess with a little treat after the goodies are consumed?
I’m sure she’ll find lots of uses for this lovely Christmas canister.
Christmas
Ribbon Canister
Materials:
empty coffee container; assorted ribbons in various widths, colors, and
patterns; scrap of cardboard; scrap of batting; scrap of Christmas print
fabric; length of rattail cording; tacky glue
1. Wash and dry container.
2. Cut lengths of ribbon 1/4” longer than
circumference of container. Beginning at the bottom and working up, glue
ribbons around container, varying colors, patterns, and widths. Overlap ends.
3. From the cardboard, cut a circle to fit inside
plastic lid.
4. Glue batting to one side of cardboard. Trim.
5. From the print fabric, cut a circle 1” larger in
diameter than the lid. Make 1/4” cuts around the perimeter of the circle every
1/2”.
6. Center fabric over batting and place face down on
flat surface. Run a line of glue
around edge of cardboard. Glue fabric to back of cardboard.
7. Glue fabric covered circle to top of lid. Glue
rattail cord around edge of fabric circle.


No comments:
Post a Comment