Featuring guest authors; crafting tips and projects; recipes from food editor and sleuthing sidekick Cloris McWerther; and decorating, travel, fashion, health, beauty, and finance tips from the rest of the American Woman editors.

Note: This site uses Amazon affiliate links. As an Amazon Associate, I earn from qualifying purchases.
Showing posts with label yo-yo crafts. Show all posts

Sunday, October 12, 2014

CRAFTS WITH ANASTASIA--AUTUMN YO-YO WREATH

Autumn Yo-yo Wreath

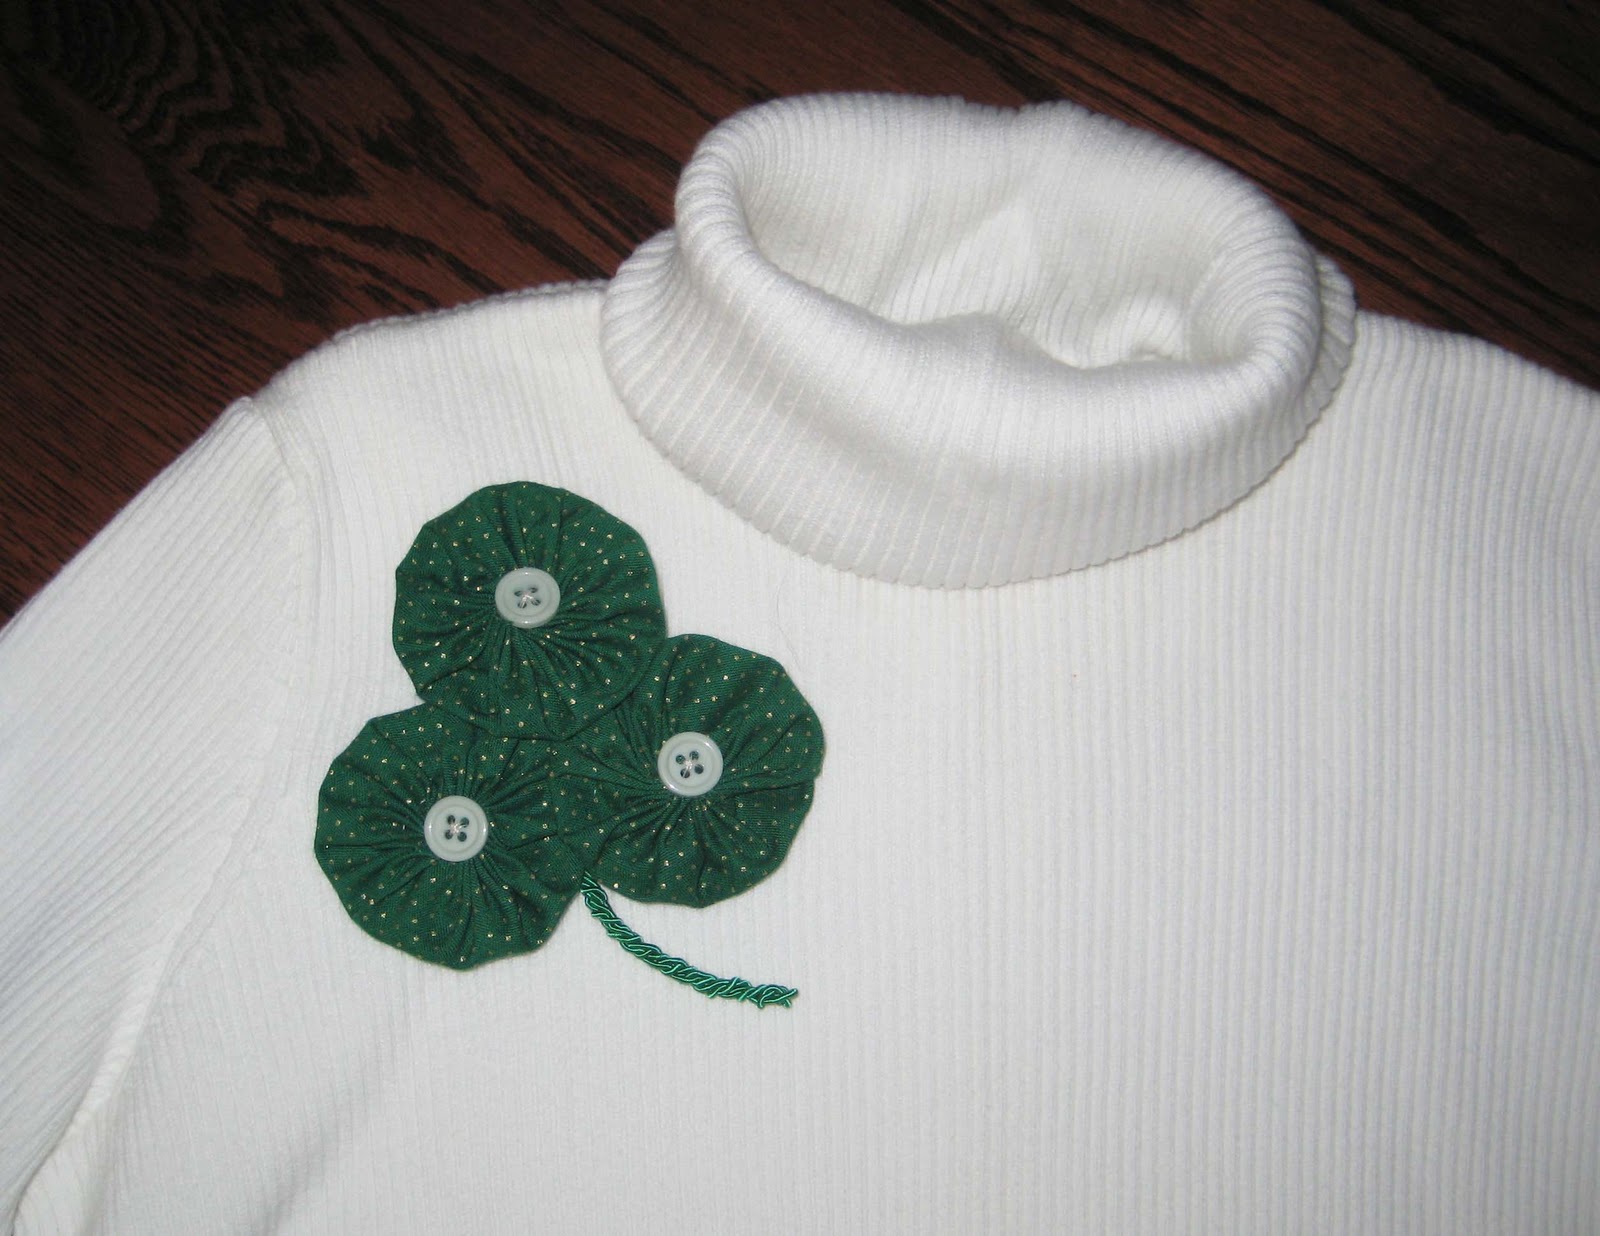
Those of you familiar with this blog know that I’m partial to yo-yo crafts. As a matter of fact, Revenge of the Crafty Corpse, the third Anastasia Pollack Crafting Mystery, features yo-yo crafts.

Now that there’s a chill in the air, it’s time to think about autumn crafting. So I came up with this quick and easy yo-yo wreath that you can hang on your front door until it’s time to switch over to your Christmas wreath.

Materials: 6” x 6” piece of cardboard, compass, three 6” x 6” pieces lightweight cotton or cotton blend fabric in autumn colors/prints, fabric marker, three decorative buttons, 9” vine wreath, 8 yds. rust-colored raffia ribbon, hot glue gun and glue stick, scissors, sewing needle, quilting thread, 9” jute

Using the compass, draw a 6” diameter circle on the cardboard. Cut out the circle. Using the cardboard circle as a template, draw a circle on the back of each of the pieces of fabric. Cut out the circles.

With the wrong side of the fabric facing up, fold the edge of one circle over 1/4". Using a running stitch, sew around the entire circle close to the fold line. Pull the thread tightly so the fabric cinches up to form the yo-yo. Flatten and shape the yo-yo. Run the needle through the center back to secure. Repeat for remaining circles.

Cut raffia into eight equal lengths. Secure ends by knotting. Glue one knotted end to back of wreath. Wrap raffia around wreath, securing opposite end at back of wreath with hot glue.

Glue a decorative button over the center hole of each yo-yo. Glue yo-yos to bottom of wreath.

Tie jute to top of wreath for hanging loop.

Sunday, July 21, 2013

CRAFTS WITH ANASTASIA--ELEGANT YO-YO CHRISTMAS TREE TOTE


Elegant Yo-yo Christmas Tree Tote

Yo-yo crafts are the craft featured in Revenge of the Crafty Corpse, the third book in the Anastasia Pollack Crafting Mystery series. In keeping with our Christmas in July theme this month, here are directions for making an elegant Christmas tree tote that can also double as a gift bag.

Materials:
13” x 13” black canvas tote bag, 1/4-yd. green plaid lightweight cotton fabric, scrap of brown print lightweight cotton fabric, compass, lightweight cardboard or card stock, scissors, pencil, sewing needle, quilting thread, 7 antique looking gold buttons each 5/8”-3/4”, fabric glue

Directions:
1. Using the compass, draw a 4” circle and a 5” circle on the cardboard or card stock. Cut out the circles.

2. Using the cardboard circles as templates, trace a 4” circle on the brown fabric and six 5” circles on the green plaid fabric. Cut out circles.

3. For each yo-yo, hold the fabric circle with the wrong side facing you. Fold 1/4” of the raw edge toward the wrong side of the fabric. Using the quilting thread, begin the first stitch underneath the fold of the hem to hide the knot, then sew a running stitch around the circle. When you reach your starting point, and the circle is completely hemmed, pull the thread tight to gather the fabric. Smooth and flatten the yo-yo so the hole is in the center. This is the right side of your yo-yo.

4. Sew a button in the center of each yo-yo.

5. Arrange yo-yos to form Christmas tree on front of tote (see photo.) Glue yo-yos in place. 

Monday, October 15, 2012

CRAFTS WITH ANASTASIA - FABRIC YO-YO GREETING CARD


Author Lois Winston recently attended Bouchercon 2012. While there, she took part in two craft rooms where authors of crafting mysteries teach craft projects to readers. Since fabric yo-yo crafts will be featured in the upcoming Revenge of the Crafty Corpse, the third book in the Anastasia Pollack Crafting Mysteries series, Lois taught classes in making a fabric yo-yo greeting card. Now, you can make one, too. -- AP

Materials: 6” circular piece of lightweight cotton fabric, 3/4” - 1" diameter button, sewing needle, DMC Perle Cotton, DMC Memory Thread, Beacon Adhesives Zip Dry paper glue, wax paper, 4-1/2” x 6” piece of colored paper, Yarn Tree greeting card and envelope.

Directions for making Memory Thread stem and leaves: Cut one piece of Memory Thread 17” (twice the length of the short side of the sheet of directions.) Using this piece as a guide, cut another piece of Memory Thread four times the 17” length. Fold the longer piece in half, then in half again. Working from one end to the other, tightly twist the four lengths of Memory Thread together. Fold the twisted length in half, forming a “V”.

For the stem, fold the 17” length of Memory Thread in half, then in half again. Center over the “V” of the twisted length. Twist the stem pieces together, starting at the “V” and working to the opposite end.

To form the leaves, coil the ends of the Memory Thread.

Assembly directions for card: Apply a thin line of glue around the front edge of the colored paper. Center behind the card cutout. Apply a thin line of glue around the edge of card flap that folds behind cut-out section. Press flap in place. Place wax paper over the card and weight down.

Apply small dots of glue to back of stem/leaves. Remove weight and wax paper from card. Position stem/leaves on front of card. Place wax paper over the stem/leaves. Weight down Memory Thread until glue dries.

While glue is drying, make fabric yo-yo flower.

Directions for making yo-yo: Hold the fabric circle with the wrong side facing you. Fold 1/4” of the raw edge toward the wrong side of the fabric. Using the quilting thread, begin the first stitch underneath the fold of the hem to hide the knot, then sew a running stitch around the circle. When you reach your starting point, and the circle is completely hemmed, pull the thread tight to gather the fabric. Smooth and flatten the yo-yo so the hole is in the center. This is the right side of your yo-yo. Sew the button over the center hole of the yo-yo. Knot the thread and snip excess.

Glue the yo-yo to the top of stem.

Sunday, March 11, 2012

CRAFTS WITH ANASTASIA-- YO-YO SHAMROCK PIN

Yo-yo’s are one of the easiest fabric crafts to make and a great way to use up fabric scraps. They're also the featured craft in Revenge of the Crafty Corpse, the next book in the Anastasia Pollack Crafting Mysteries, but you'll have to wait until January for that! However, just in time for St. Patrick’s Day, here's a quick and easy shamrock pin made from three yo-yo’s. For those of you who are frequent visitors to Killer Crafts & Crafty Killers, you might remember this craft from last year, but I thought it was cute enough and appropriate enough to repeat it here today.  -- AP

YO-YO SHAMROCK PIN
Supplies
cardboard
compass
scissors
scrap of green print fabric
fabric pen
quilting thread
sewing needle
three lt. green 3/8” buttons
12” DMC 6160 green Memory Thread
fabric glue
 glue gun and glue sticks

Using the compass, draw a 4” diameter circle on the cardboard. Cut out the circle.

Using the cardboard circle as a template, draw three circles on the wrong side of the fabric. Cut out the circles.

With the wrong side of the fabric facing up, fold the edge over 1/4". Using a running stitch, sew around the entire circle close to the fold line. Pull the thread tightly so the fabric cinches up. Flatten and shape the yo-yo. Run the needle through the center back. Now stitch a button over the center of each hole.

Arrange the three yo-yo’s as shown in the photo with then overlapping each other slightly. On the wrong side, tack the yo-yos in place.

To form stem, twist the ends of three 10” pieces of Memory Thread, then braid. Fold braid in half and twist together from fold out to ends. Twist cut ends together, securing with a dab of fabric glue. Allow to dry.

Using the glue gun, glue the cut ends of the stem just below the center back of the shamrock. Glue the pin back in place, centered directly above the stem.

Whether you’re Irish or not, do you put on the green for St. Patrick’s Day? Let’s hear from you. Post a comment for a chance to win a book from our Book Club Friday guest author. -- AP

Sunday, May 8, 2011

CRAFTS WITH ANASTASIA-- YO-YO SPRING TOPIARY


YO-YO SPRING TOPIARY
Celebrate spring with this easy-to-make yo-yo topiary.
Supplies:
cardboard
compass
scissors
1/4 yd. print fabric
fabric pen
quilting thread
sewing needle
five pink 5/8” buttons
3” diameter wooden embroidery hoop
8” length 3/16” diameter dowel
floral tape
2 green silk leaves
2” x 2” x 3” piece floral foam
3” x 4” clay pot
small amount green excelsior
glue gun and glue sticks

Using the compass, draw a 5” diameter circle on the cardboard. Cut out the circle.

Using the cardboard circle as a template, draw five circles on the wrong side of the fabric. Cut out the circles.

With the wrong side of the fabric facing up, fold the edge over 1/4". Using a running stitch, sew around the entire circle close to the fold line. Pull the thread tightly so the fabric cinches up to form a yo-yo. Flatten and shape the yo-yo. Run the needle through the center back. Now stitch a button over the center of each hole.

Hot glue one end of the dowel into the screw opening of the embroidery hoop (see diagram.) Allow to dry.

Wrap floral tape around dowel, securing silk leaves as you wind tape. Don’t worry that top of dowel where glued into hoop isn’t covered.

Glue one yo-yo to the bottom of the hoop, covering screw. Glue the remaining yo-yo’s around the hoop as shown in the photo with the yo-yo’s overlapping each other slightly.

Glue the floral foam into the pot so that it fits snugly and foam isn’t visible over the top edge. If necessary, trim foam to fit.

Glue dowel into center of floral foam. Glue excelsior over floral foam.

Sunday, March 6, 2011

CRAFTS WITH ANASTASIA-- YO-YO SHAMROCK PIN

Yo-yo’s are one of the easiest fabric crafts to make and a great way to use up fabric scraps. Just in time for St. Patrick’s Day, we have a quick and easy shamrock pin made from three yo-yo’s.

YO-YO SHAMROCK PIN
Supplies
cardboard
compass
scissors
scrap of green print fabric
fabric pen
quilting thread
sewing needle
three lt. green 3/8” buttons
12” DMC 6160 green Memory Thread
fabric glue
 glue gun and glue sticks

Using the compass, draw a 4” diameter circle on the cardboard. Cut out the circle.

Using the cardboard circle as a template, draw three circles on the wrong side of the fabric. Cut out the circles.

With the wrong side of the fabric facing up, fold the edge over 1/4". Using a running stitch, sew around the entire circle close to the fold line. Pull the thread tightly so the fabric cinches up. Flatten and shape the yo-yo. Run the needle through the center back. Now stitch a button over the center of each hole.

Arrange the three yo-yo’s as shown in the photo with then overlapping each other slightly. On the wrong side, tack the yo-yos in place.

To form stem, twist the ends of three 10” pieces of Memory Thread, then braid. Fold braid in half and twist together from fold out to ends. Twist cut ends together, securing with a dab of fabric glue. Allow to dry.

Using the glue gun, glue the cut ends of the stem just below the center back of the shamrock. Glue the pin back in place, centered directly above the stem.

Whether you’re Irish or not, do you put on the green for St. Patrick’s Day? Let’s hear from you. Post a comment to be entered in this week's drawing for a book from our Book Club Friday guest author. -- AP