

I’m always
amazed when people tell me they don’t craft because they have no talent. The
beauty of crafting is that anyone can do it, talent or no talent, depending on
the project. Just as you wouldn’t pick up a paint brush for the first time and
expect to recreate the Mona Lisa, you don’t start crafting projects meant for
experienced crafters. You begin at the beginning. Do that, and your confidence
will grow with each project, and you’ll begin to challenge yourself, moving
from beginner projects to intermediate projects to advanced project.
If you’re a
frequent visitor to this blog, you know that I’m a big fan of buttons as a
crafting medium. Who doesn’t have a tin or box or jar of miscellaneous buttons
squirreled away somewhere in the house? Maybe you inherited them from your
grandmother or mother. Maybe they’re simply all those extra buttons that are
pinned to clothing you’ve purchased over the decades. I love crafting with
these buttons. You can turn them into anything from jewelry to home dec items.
By the way,
did you know that the button was originally created for ornamentation, not as a
fastener? Primitive buttons made of shell, bone, wood, and metal have been
found dating back to 2000 BC. However, evidence of buttons being used as
closures is not found until sometime around 1200 AD. By the middle of the 13th
century there are references to button makers in the laws governing French
craftsmen guilds. (Bet you weren’t expecting a history lesson when you started
reading, were you?)
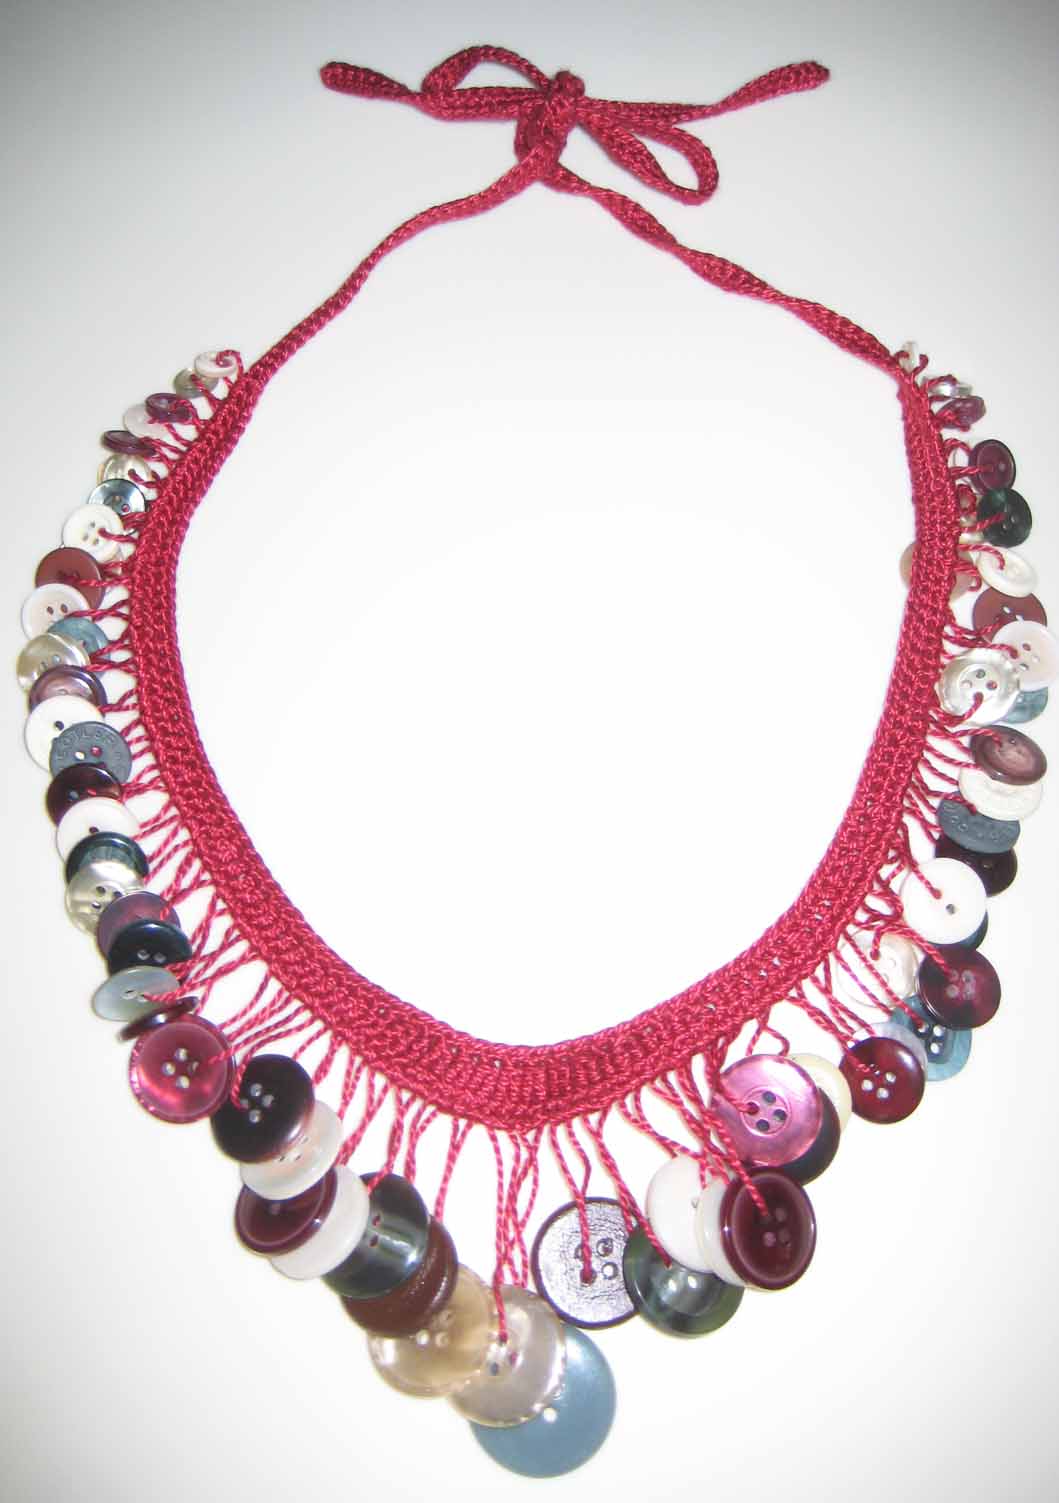
So back to
crafting…the photo of the button necklace is a project that requires a certain
amount of skill. Although it’s a simple project if you know how to crochet,
it’s intimidating for someone who doesn’t crochet.
Now take a
look at the basket featured above. Cute, isn’t it? And you know what? It’s a project that’s
easy enough for a child. So don’t be intimidated. Pull out your stash of
buttons, and follow the simple directions below.
Party Favor Button Basket
Materials:
4-1/2” woven
basket (available at craft stores)
acrylic
paint (your choice of color)
foam paint
brush
assorted
buttons without shanks
glue gun or
glue suitable for plastic
Note: I made
a group of these baskets as party favors for a shower and filled them with
candy. Because I was going for a “shabby chic” look, I dry-brushed the paint so
that it didn’t entirely cover the basket. If you want an even quicker craft,
leave the basket unpainted.
1. Paint
the basket with your choice of color. Allow to dry.
2. Using
a glue gun or appropiate glue, glue buttons around the rim of the basket and
handle.
Could it get
any easier?


